
As gardeners we hear people say, “I’ve got a brown thumb”, “Nothing will grow in my yard”, “My garden is dead.” Maybe you have even said this yourself. What if the problem is not you after all? What if the problem really IS your garden? What if your garden really IS dead? And, what if I told you it could come back to life? No. I’m not talking about zombie gardens that feed off the neighborhood squirrels – although some gardeners might not mind that. More like a fountain of youth – for your plants.
As a garden designer and horticulturist, I focus on what plants need to grow and thrive: the proper amount of sunlight, the necessary nutrients, the right amount of water – all important, but one of the top factors is the soil.

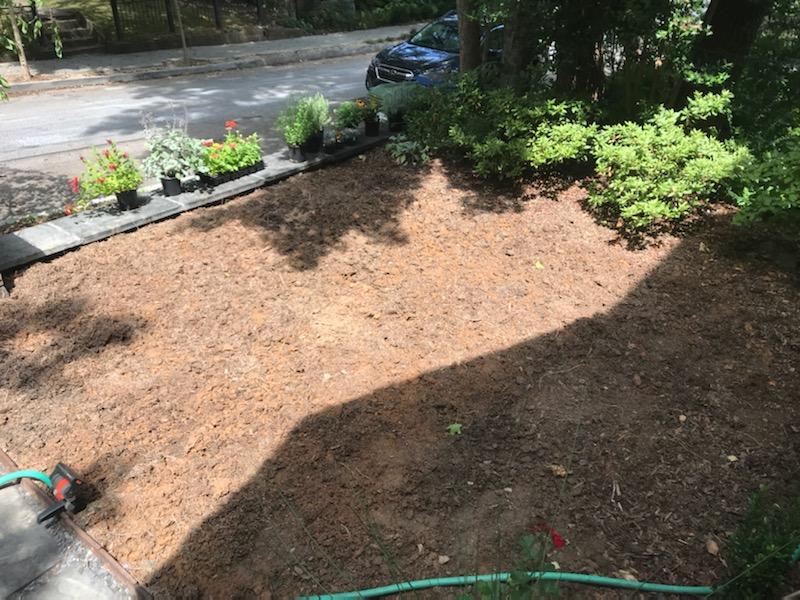
The intown Atlanta house before we got started with pine straw covering the ground where nothing would grow.
Whether reviving old beds or creating new ones, the first place I look is underground. Starting with a hole approximately 12” wide and 12” deep to see what is going on down there. I fill it with water and see how quickly it soaks in. If water has trouble permeating the soil that far down, how will it get to your plants’ roots? In addition, for large gardens, a soil test is always a good idea for the long haul, especially if trees and shrubs are on the agenda.
A History on this Garden
A small, mostly shady patch in an older intown neighborhood, the house had been torn down and replaced with new construction a decade ago. With that, a new retaining wall rose up from the sidewalk and the new front yard was leveled with whatever fill dirt and leftover debris could be found – cement, stone, brick, glass, old car parts, etc. Sod was added at some point.
Over the years, the lawn had given way to a mulch field flanked by foundation plantings. In preparation for its most recent sale, a fresh layer of sod was dropped in on top of the barren patch of dirt. Within a year of moving in, the new owners were faced with sparse, mostly dead grass. As first-time home buyers, they assumed it was something they had done wrong. Unsure how to move forward, they opted to cover the area with pine straw while exploring their options.
Time for a Change
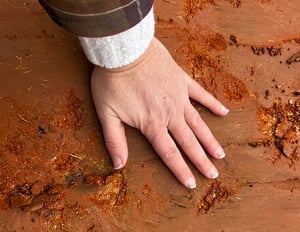
In July 2019, we set out to get to the root of their problem. My first attempt at piercing the soil barely reached more than a couple inches down despite not hitting rocks. The initial test hole revealed two fossilized layers of baked sod on top of clay and backfill. No worms, grubs, insects, or plant life of any kind was visible. Half an hour after filling with the hole with water, it was still half full. There was no way a garden was going to grow here!
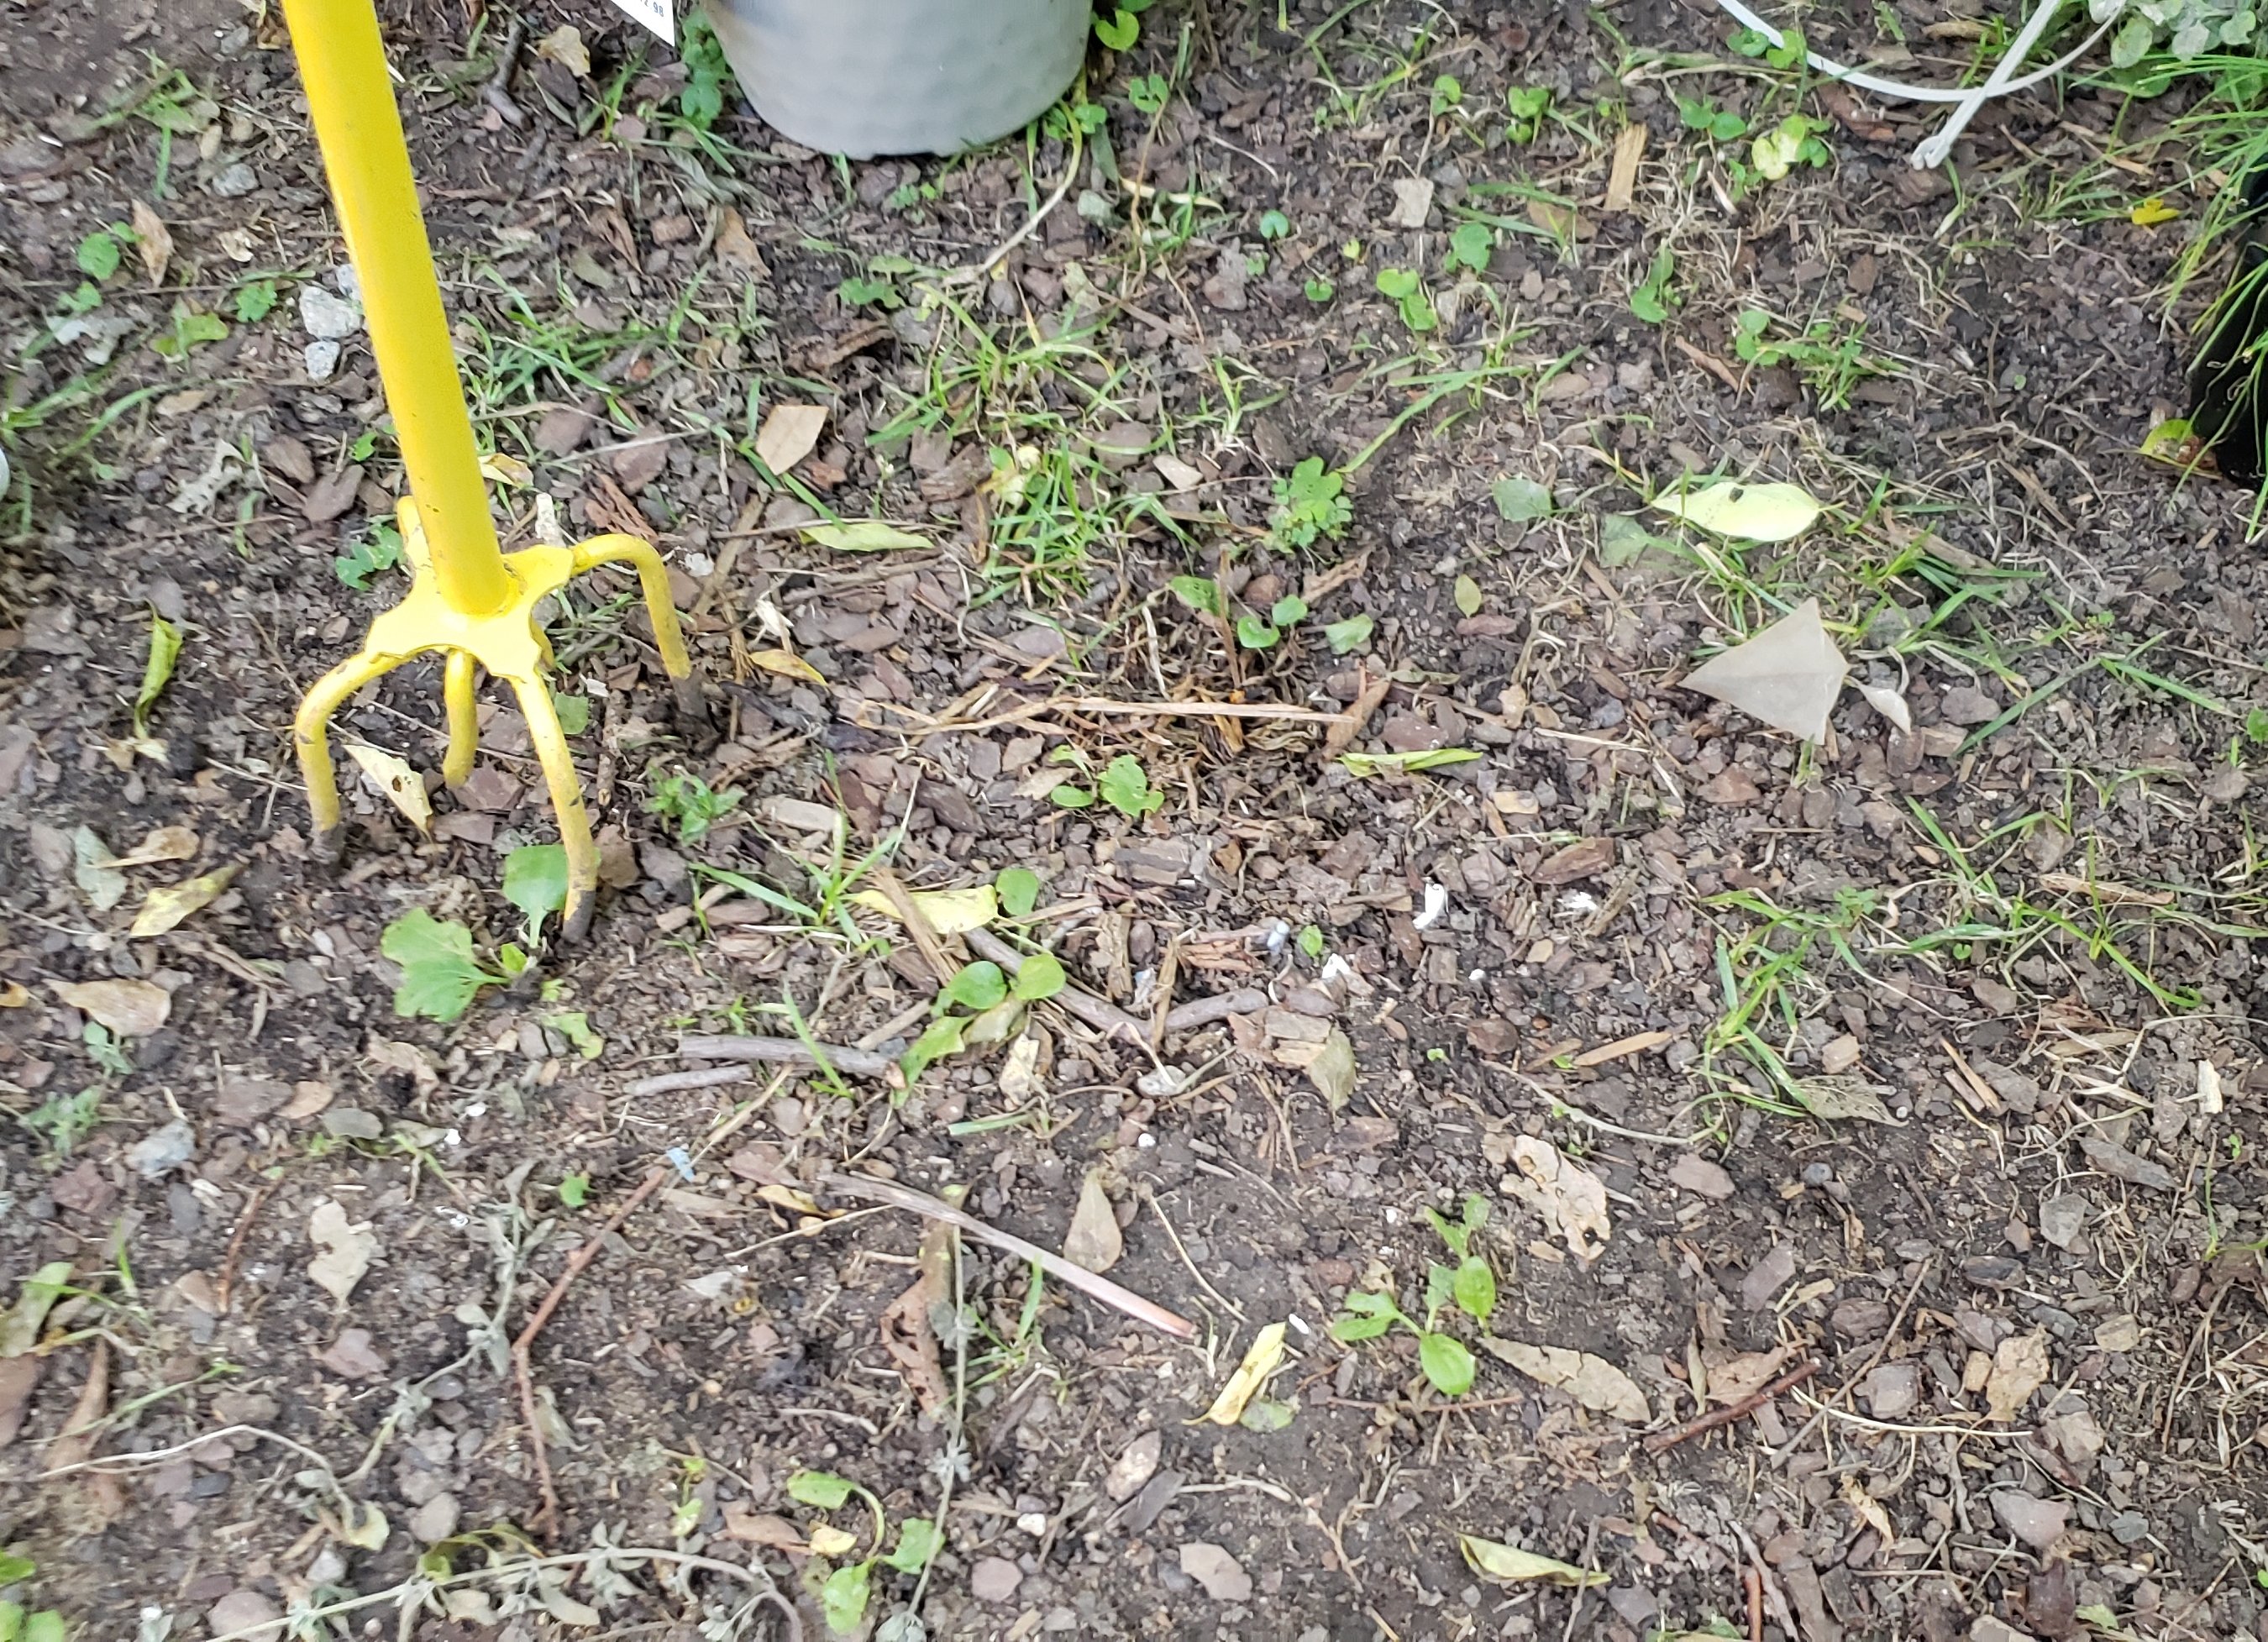
My first look at the soil in June 2019. The soil was hard and my test hole revealed that water couldn't soak in.
Before any further action could be taken, the ground had to be softened. I am not a fan of using a rototiller for this type of project, and it would have been useless anyway. Sprinklers were set to run on 30-minute intervals a few times throughout a day. The next day, it took approximately half an hour using a garden claw tool to loosely churn the top two to three inches of soil manually. Then the sprinklers were set up to run for another couple rounds to get the water deeper into the ground than it had been in many years.
Unable to scratch the surface. Cleared the pine straw and set up sprinklers to soak the ground before loosening top two to three inches of soil.
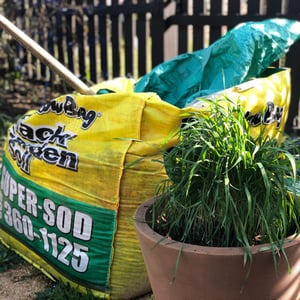
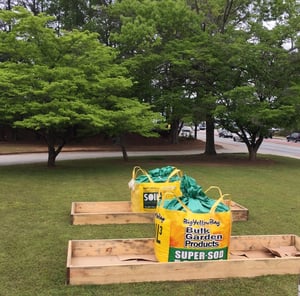
Then the Soil³ compost arrived. Beginning the next morning, we spread the entire BigYellowBag (one cubic yard) over the area in just under two hours which gave us three to four inches of Soil³ compost on top of the original soil. We added extra to the front and side edges knowing that is where we would eventually be planting a perennial border. Using the same garden claw and rakes, the Soil³ was worked into the loosened, dead soil, and watered in.

One cubic yard of Soil³ humus compost - delivered right next to our work area!
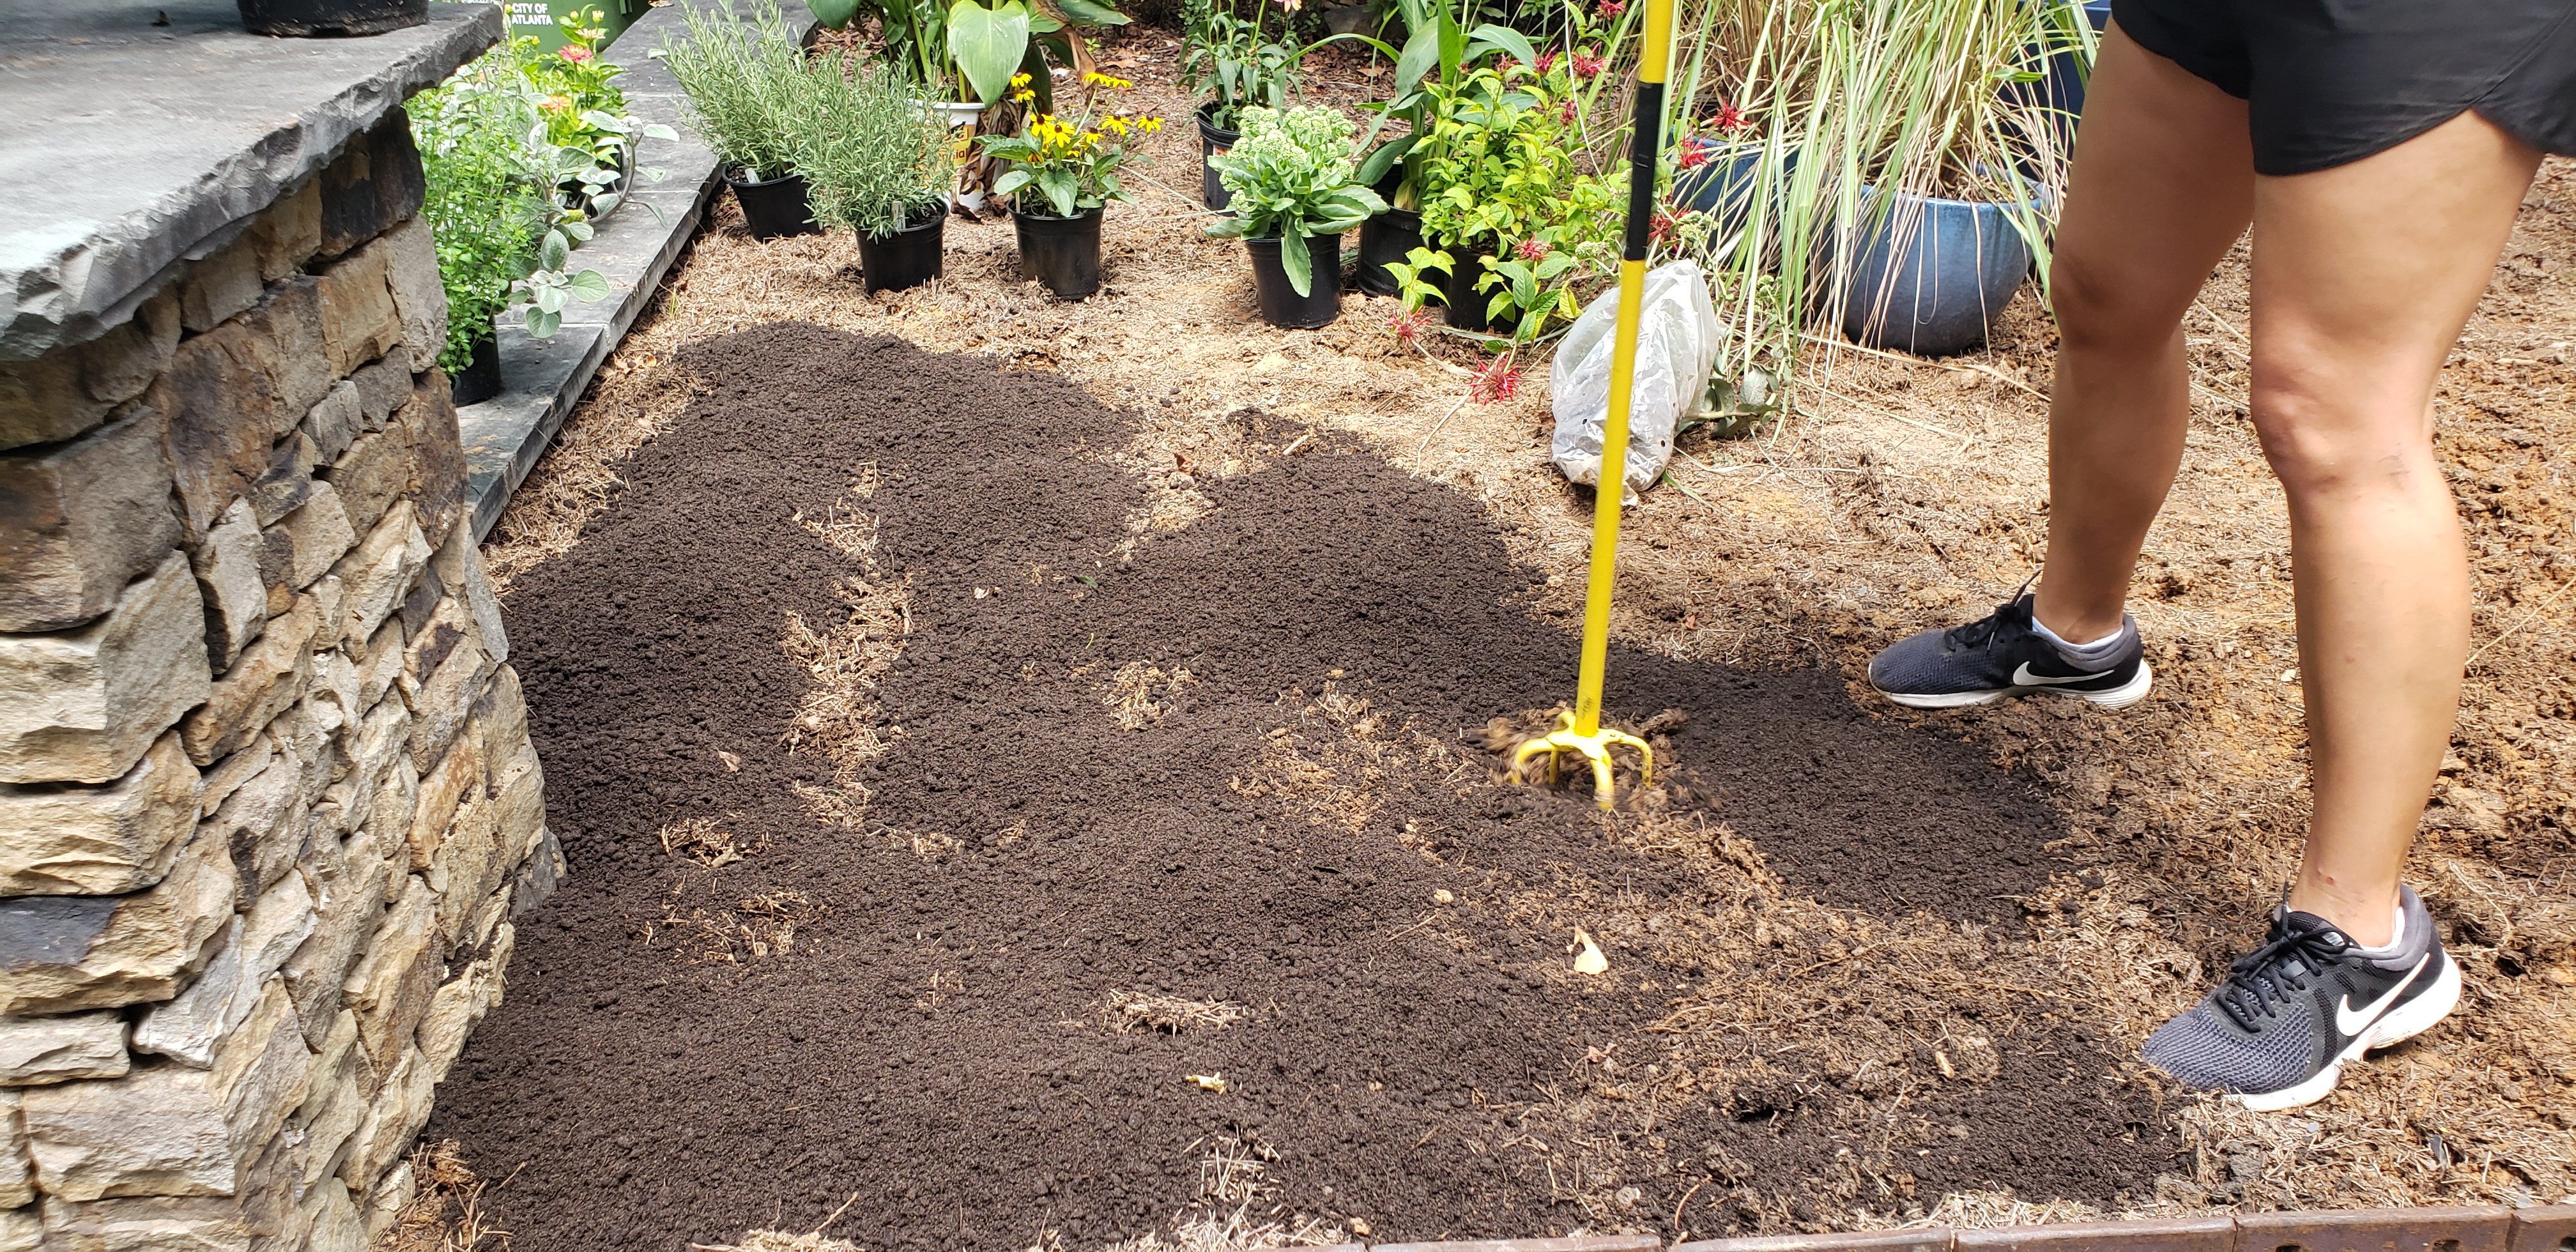
The first BigYellowBag of Soil³ was enough to spread 2”– 3” across the whole area with some extra in the places where annuals and perennials would be planted. Then we worked the compost into the loosened soil.
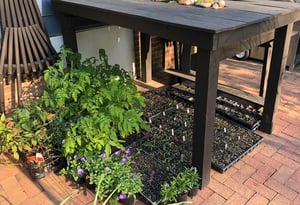
Summer annuals and a few tough perennials were set in and topped with the remaining Soil³. Finally, the entire area was covered in two to three inches of pine bark nuggets. Given that the South experienced a drought through most of the late summer and fall, the area was manually irrigated periodically to support the plants and the soil.
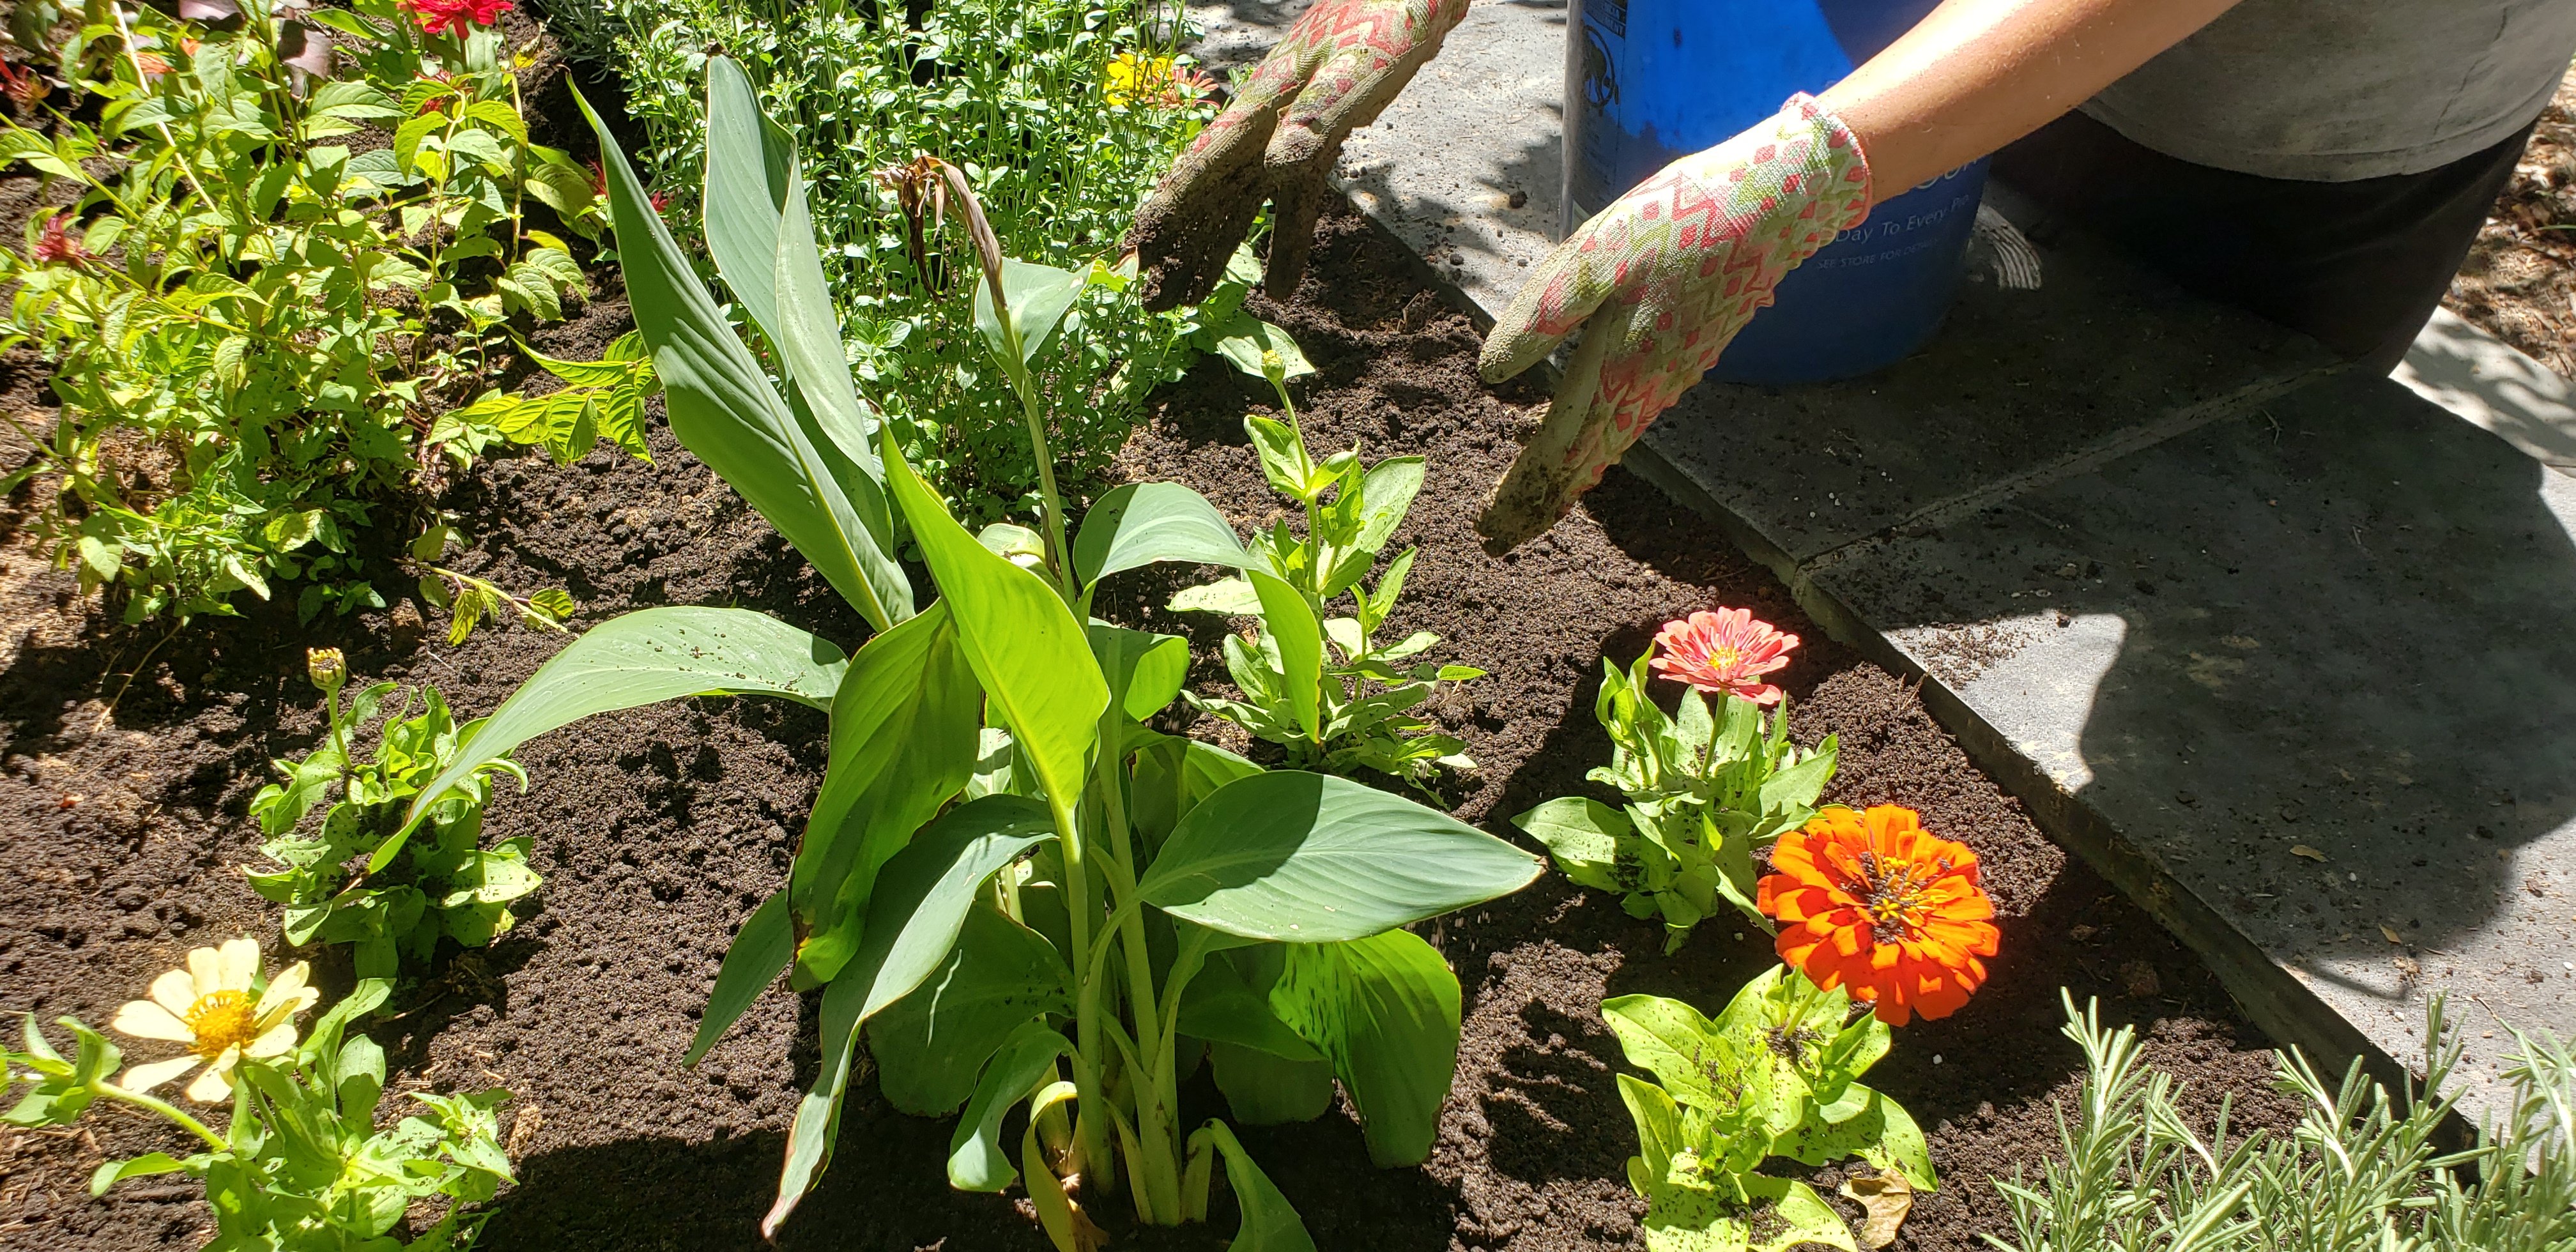
The next day the first plants went into the border and were top-dressed with Soil³ before mulching.
New Hope
By the time January rolled around and normal rainfall had resumed, I revisited the patch of ground and raked back the pine bark. The shovel easily penetrated the soil to the hilt. I dug a test hole and filled it with water. The water was absorbed completely within 10 minutes.
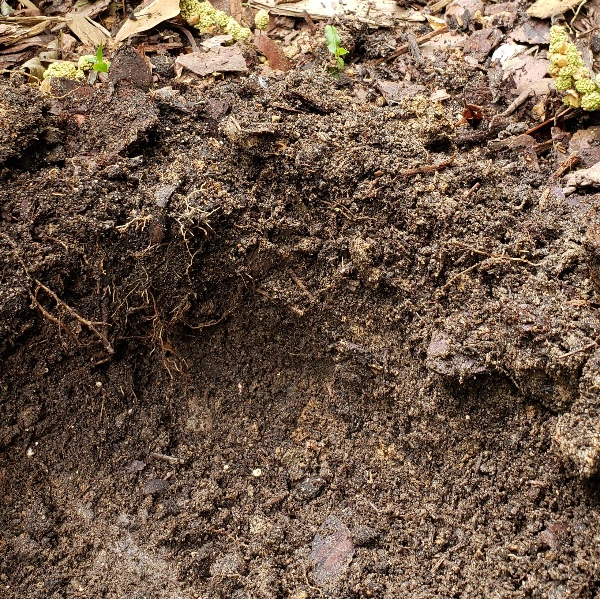
The test hole dug in January soaked up 12” of water in 10 minutes.
A couple small boxwoods and some gardenias were added as evergreen anchors. Then, dormant perennials were placed leaving gaps to add more come spring. The entire border was top-dressed with another couple inches of Soil³, a one-inch layer of soil conditioner (composted pine bark fines) for added moisture retention, and the pine bark nuggets replaced.
The first annuals and perennials were mulched in ready for winter.
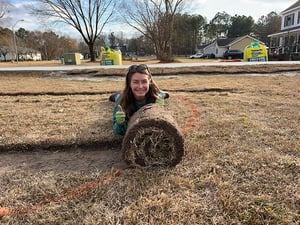
In March, it was time to start on the new “lawn.” Earlier I mentioned other factors that were critical to the survival of plants, including grass. Sunlight in this garden is a problem. It is shaded until just after noon, receives two hours of scorching hot afternoon sun, then dappled to heavy shade the rest of the day. Historically, grass had not thrived in this location and the remainder of the street backed that up. The homeowner wanted the feeling of a lawn, something to soften the area, so dwarf mondo grass (also called lilyturf and botanical name Ophiopogon japonicus) was the answer. (Check out this page to help answer the question "Is your yard too shady for grass?" along with some suggested solutions.)
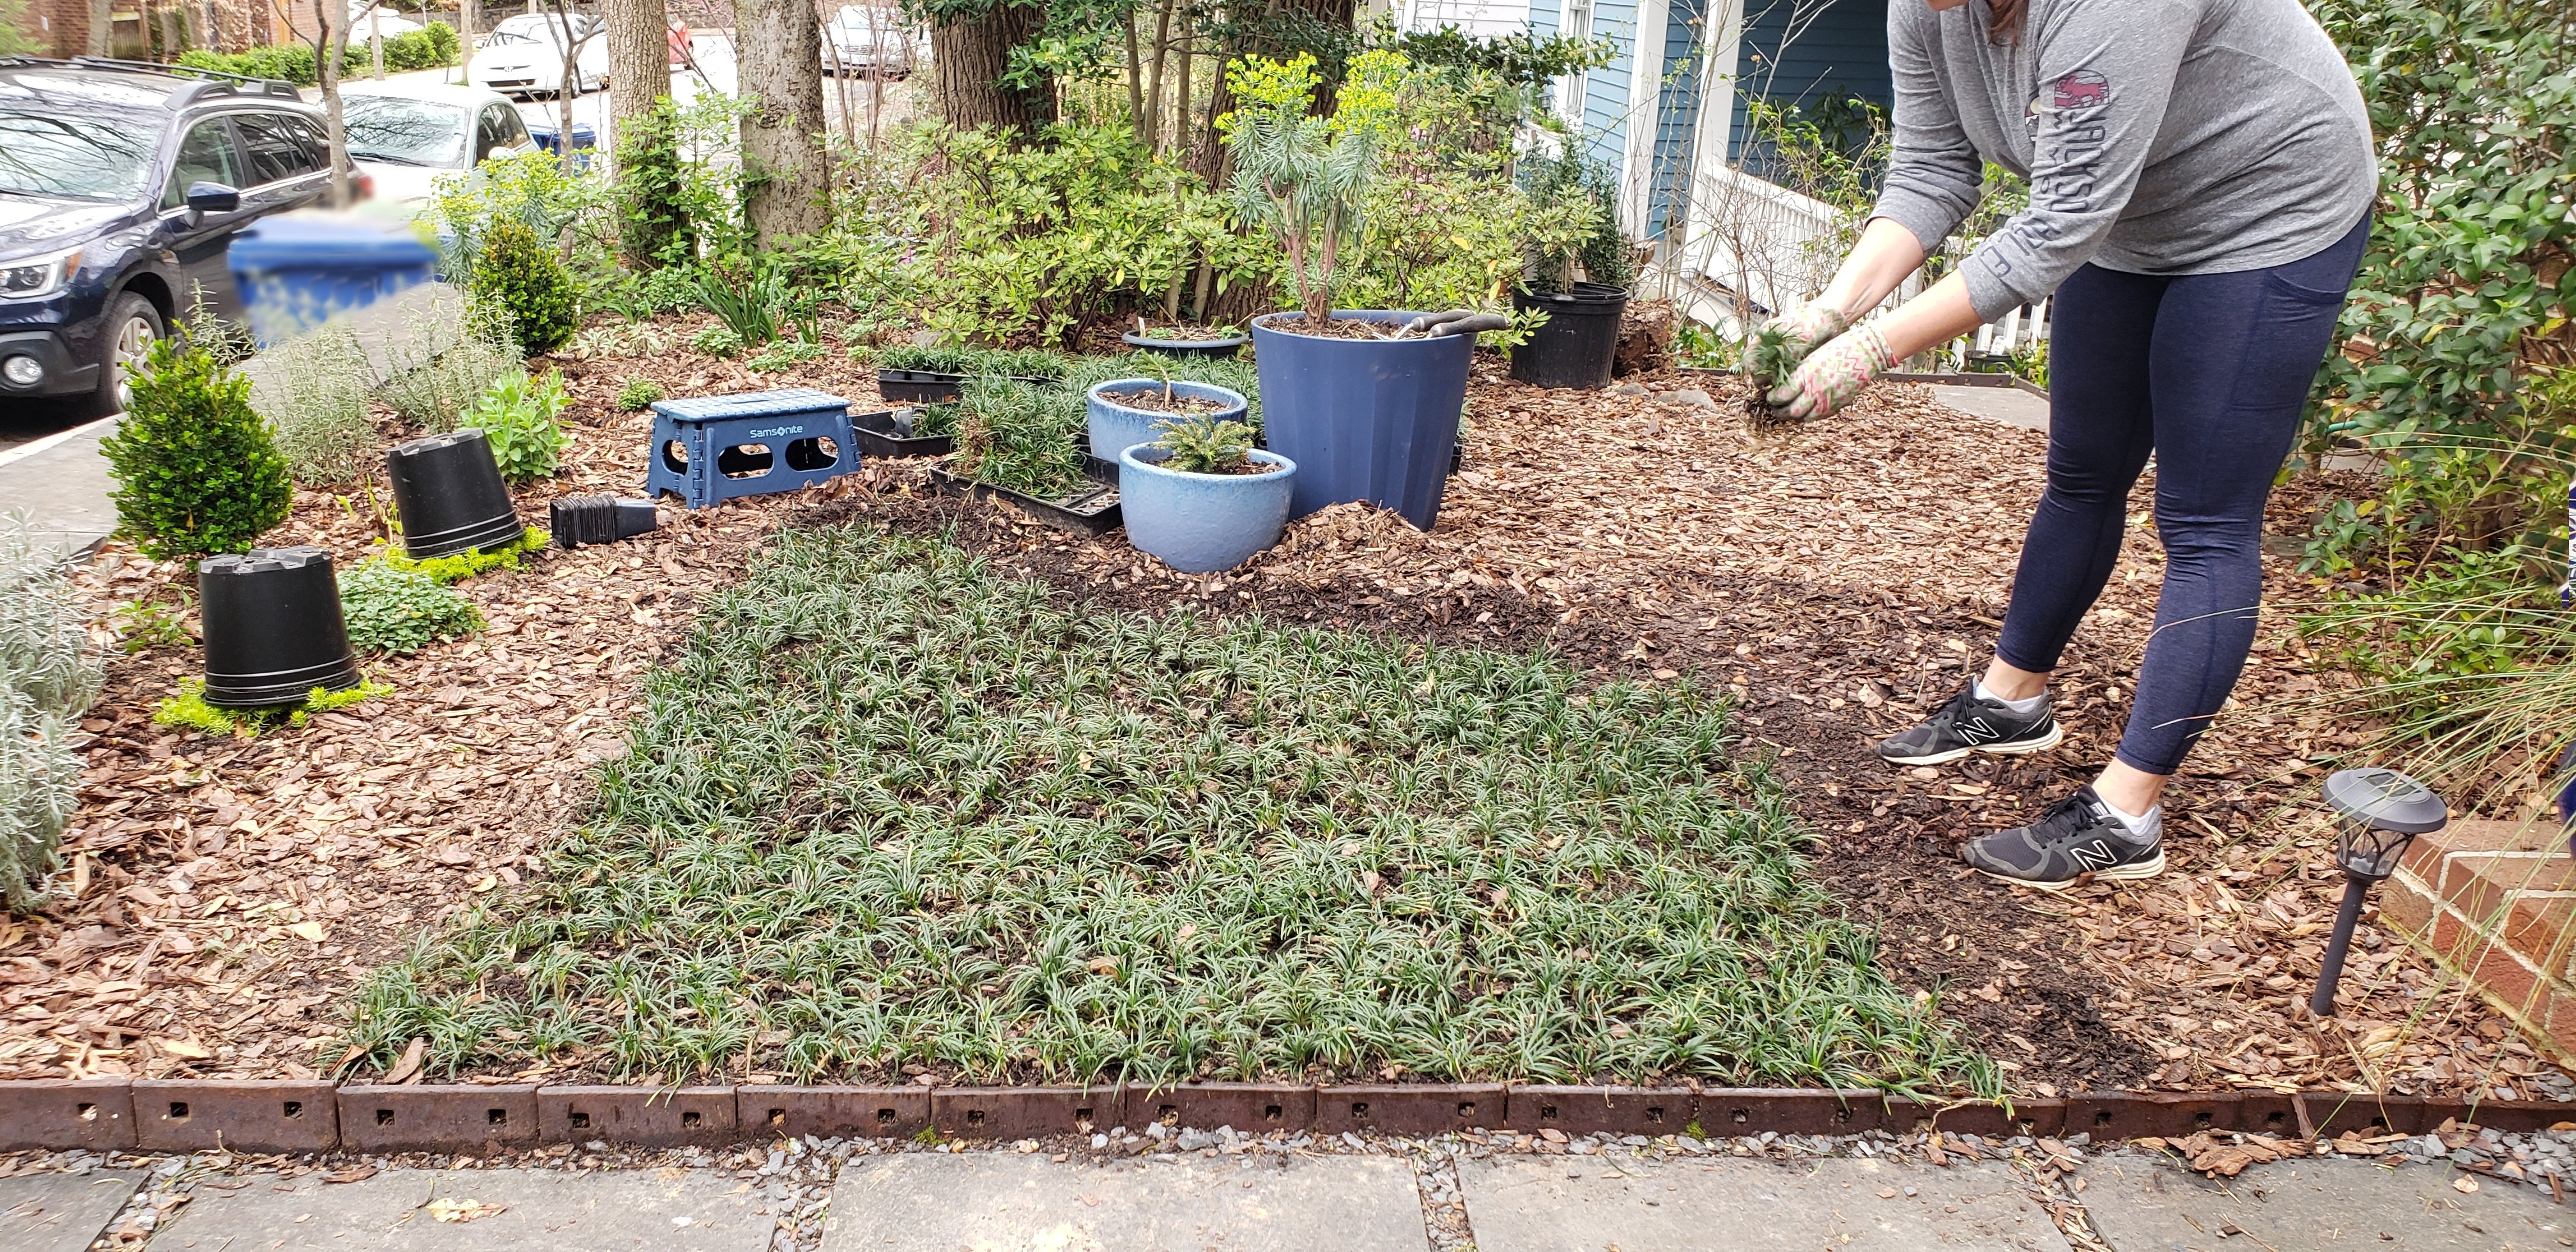
To give the shady area the look of a lawn, we planted dwarf mondo grass in March and topdressed with Soil³.
The plugs were divided and planted, top-dressed with Soil³ humus compost, and mulched with soil conditioner to allow for new shoots to poke through easily while retaining surface moisture and preventing washout from heavy rains. A very wet spring took care of the need for irrigation.
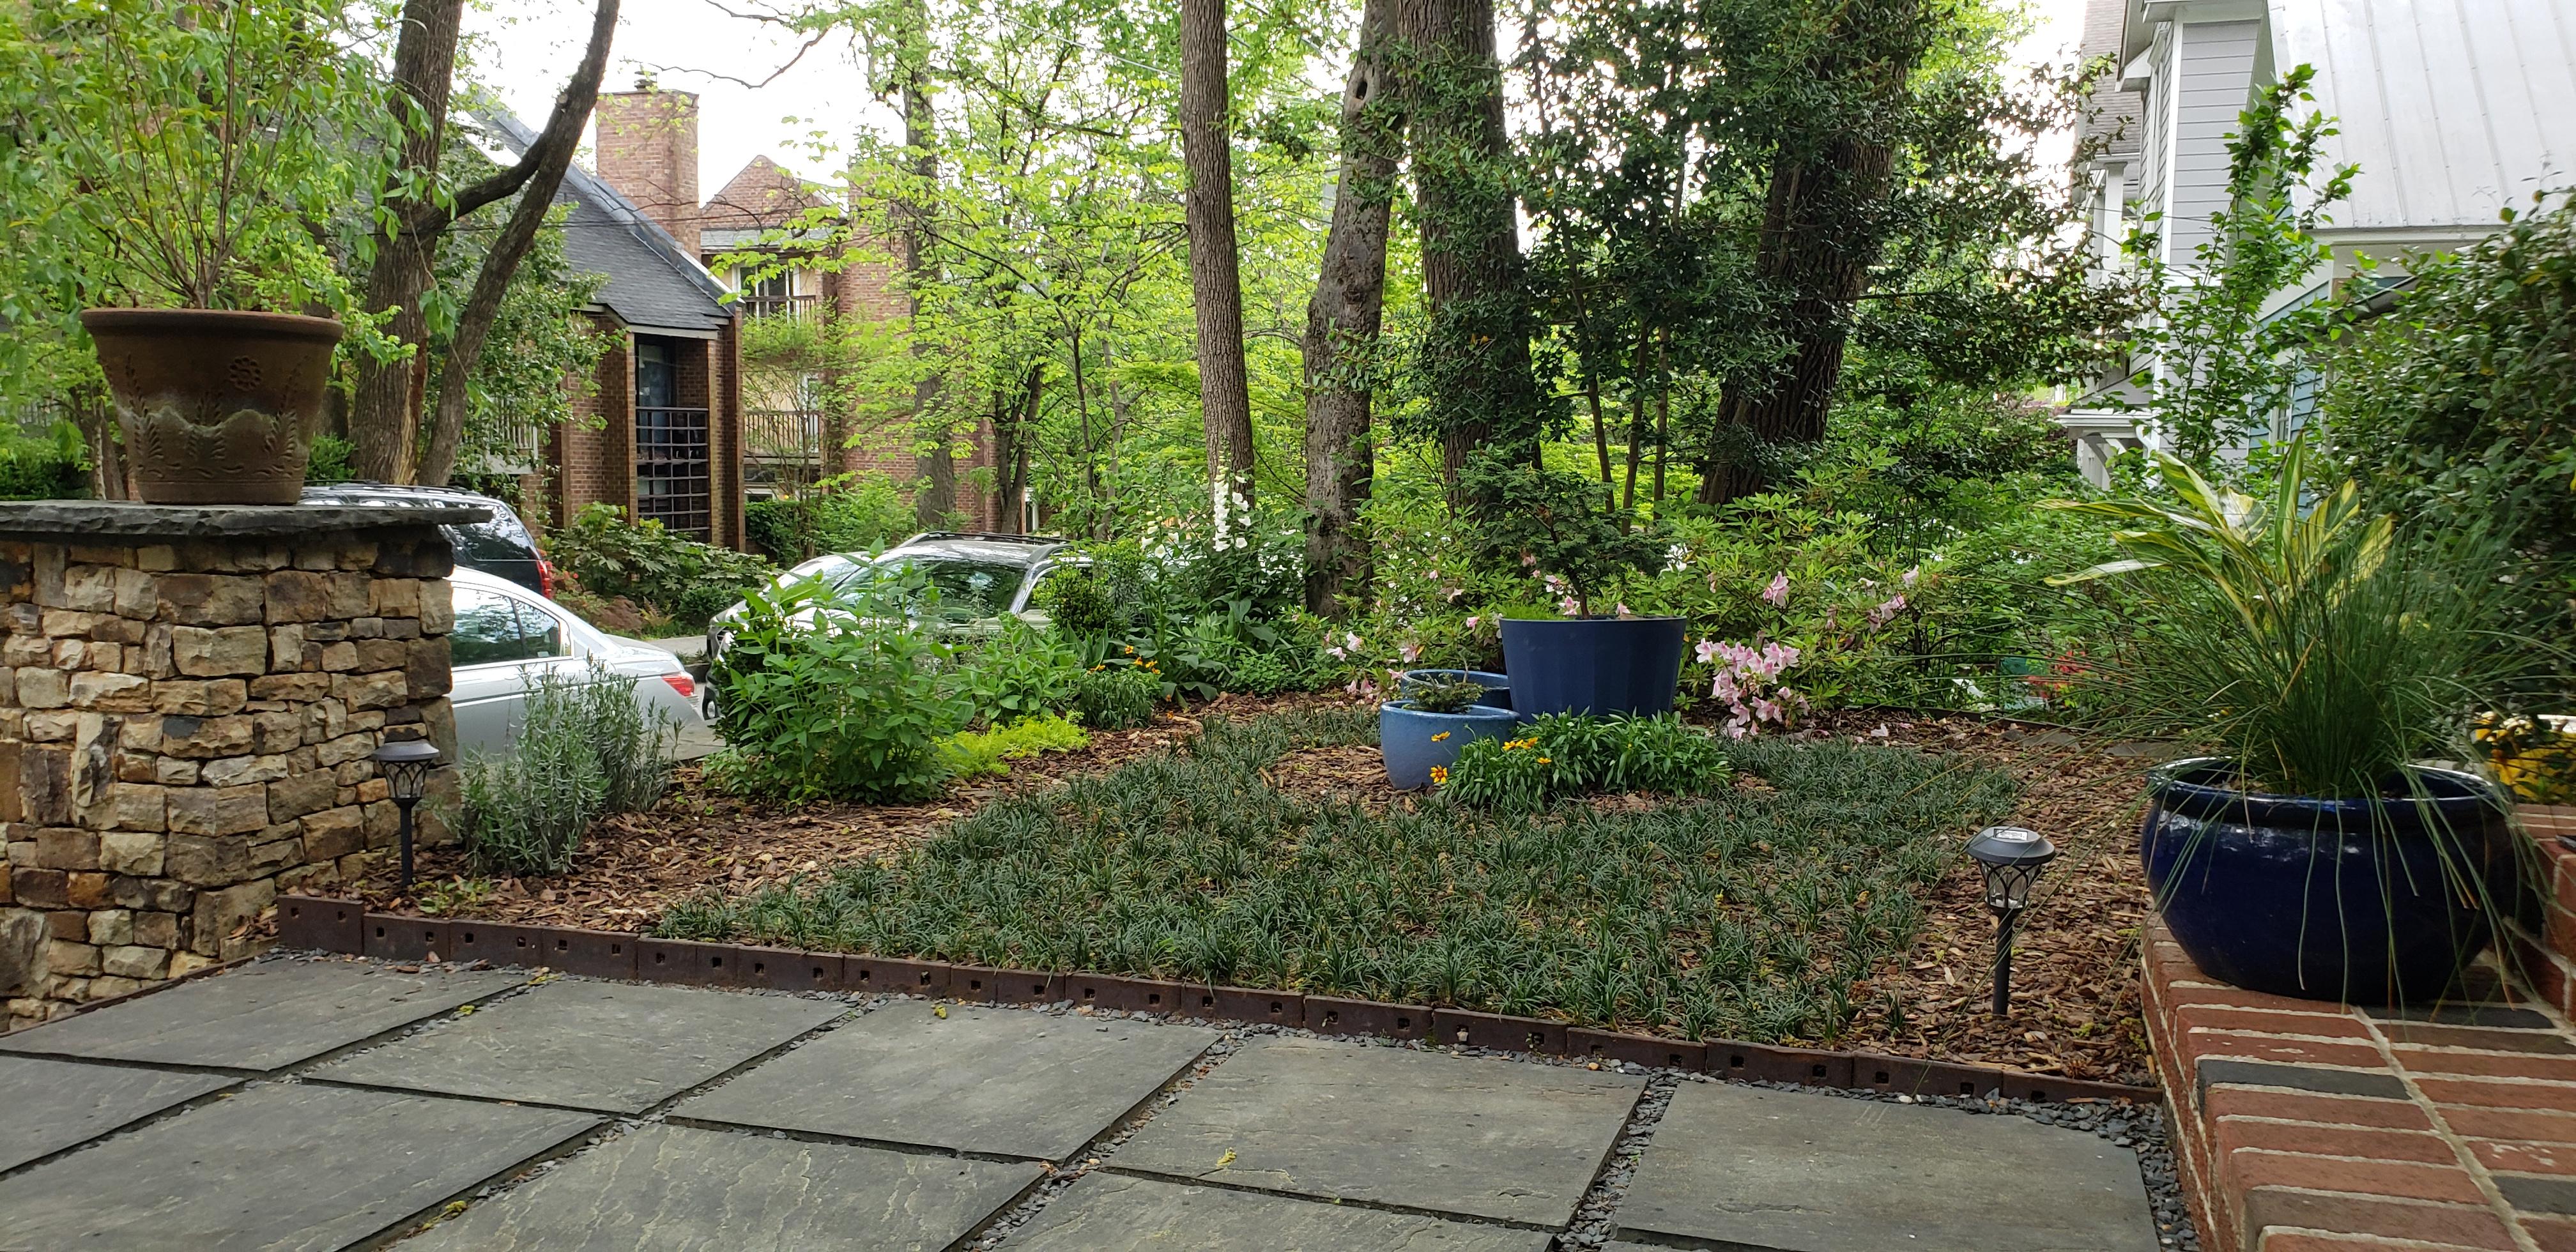
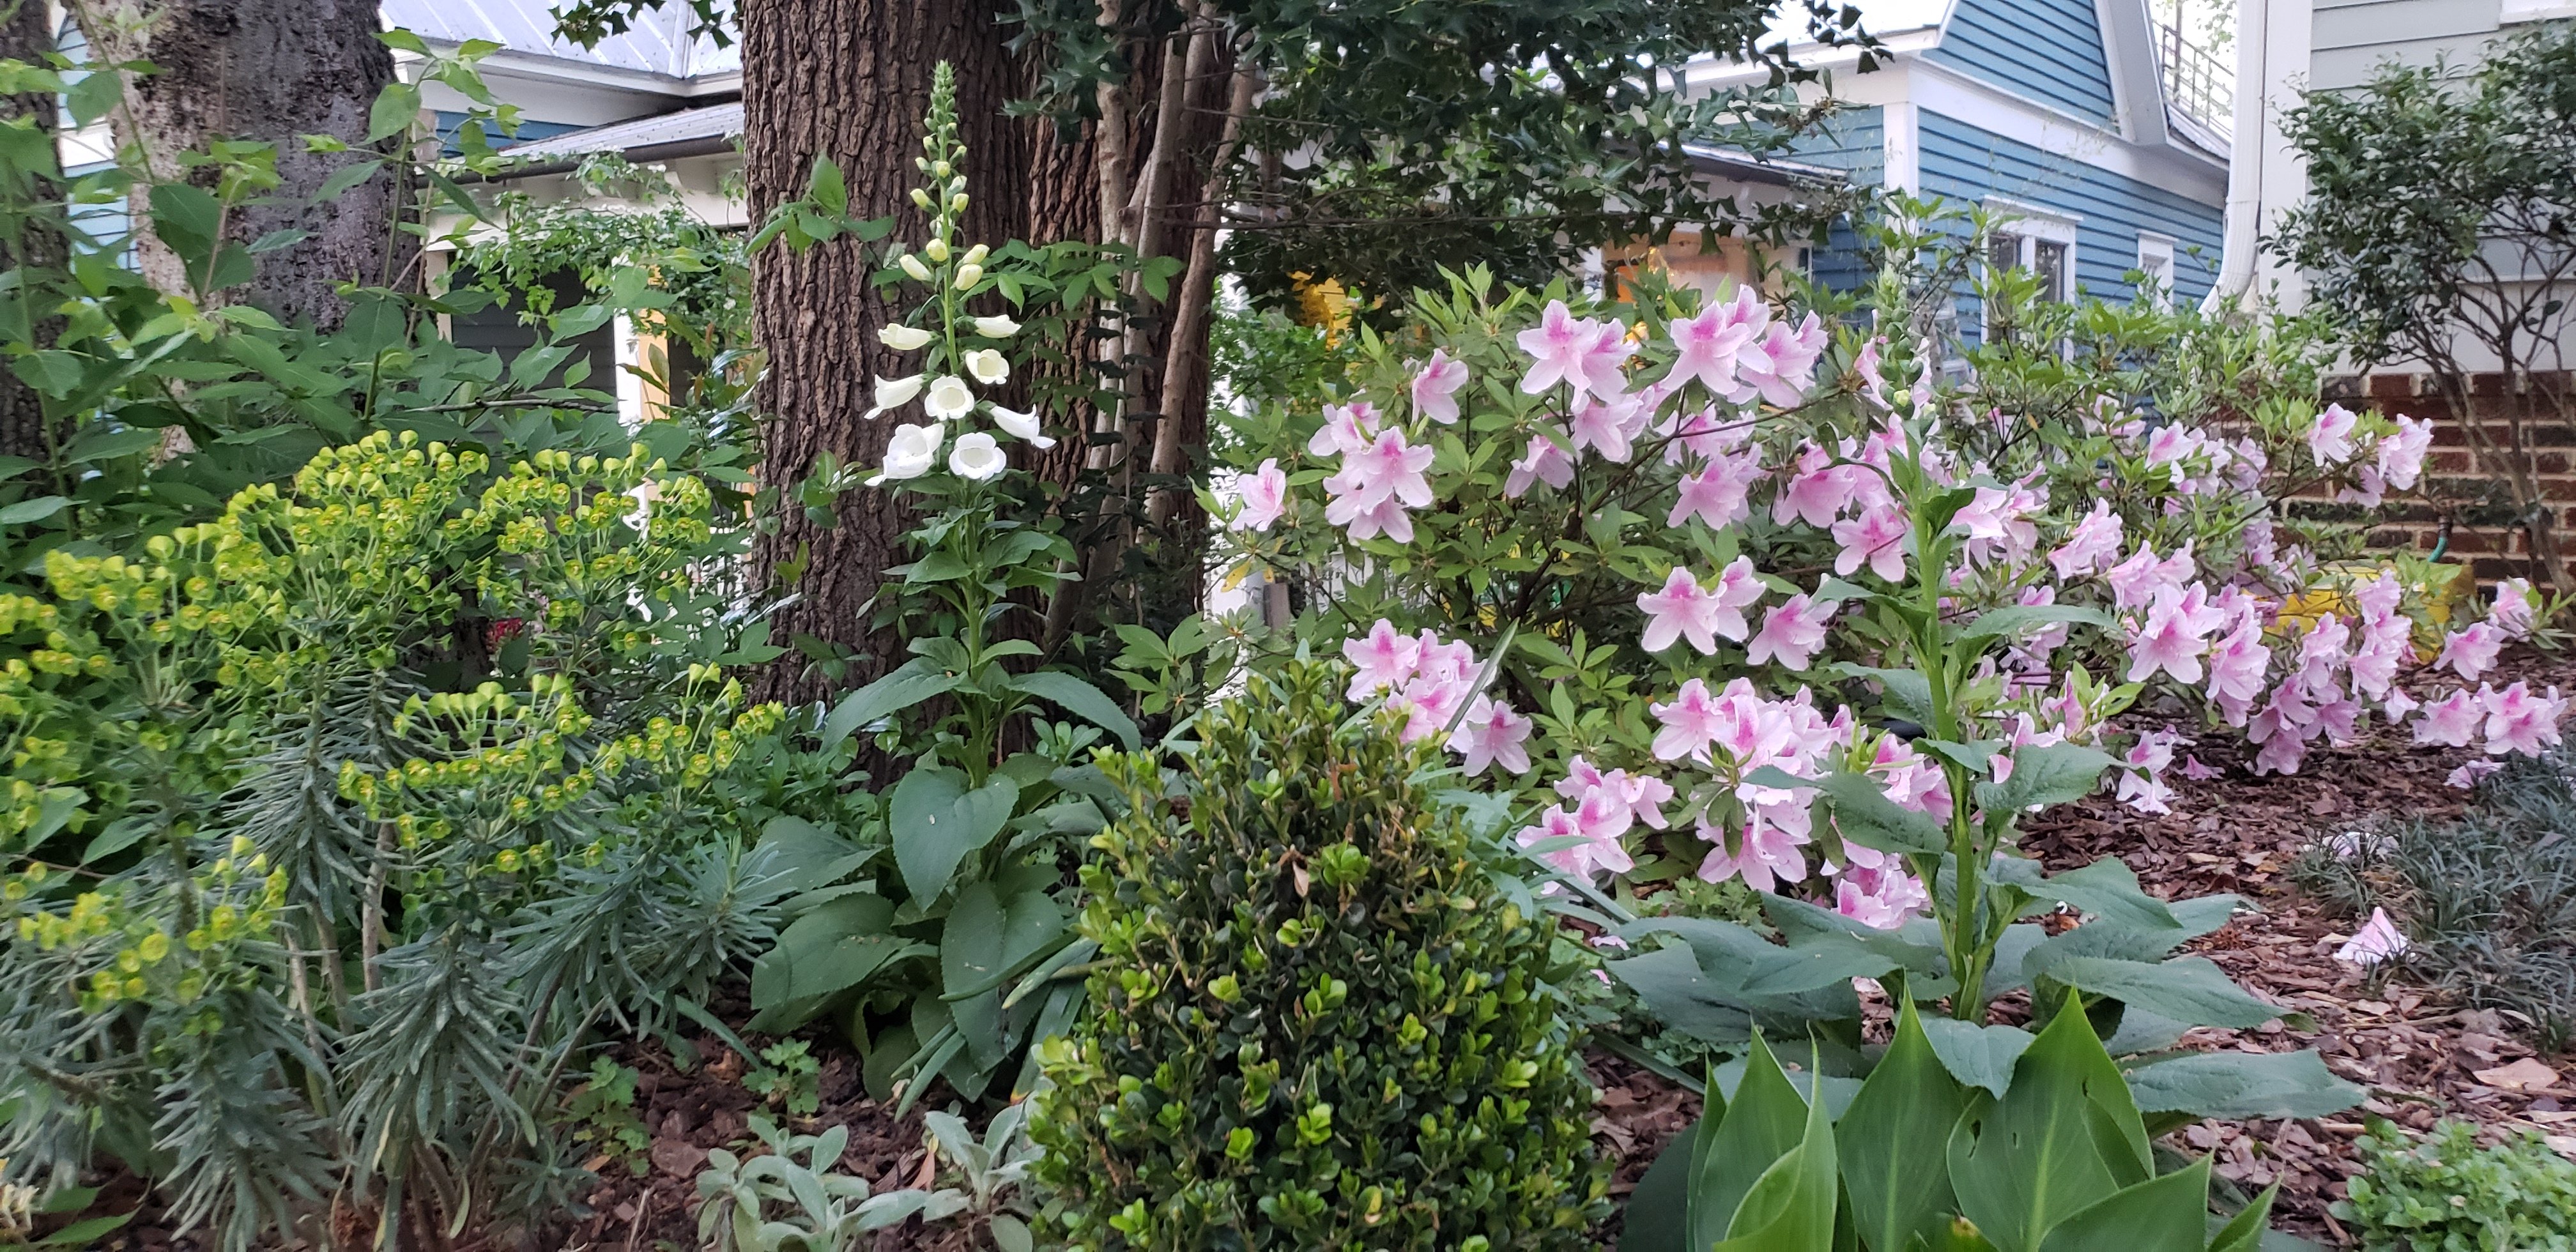
With the dwarf mondo lawn finished and some evergreen, anchor shrubs added, the perennials emerged for their first spring.
As the perennial border filled in and came to life so did the soil. Periodically pulling back the pine nuggets it was easy to see that other active signs of life had moved in: beetles, millipedes, woodlice (roly poly bugs), earthworms, and much more.
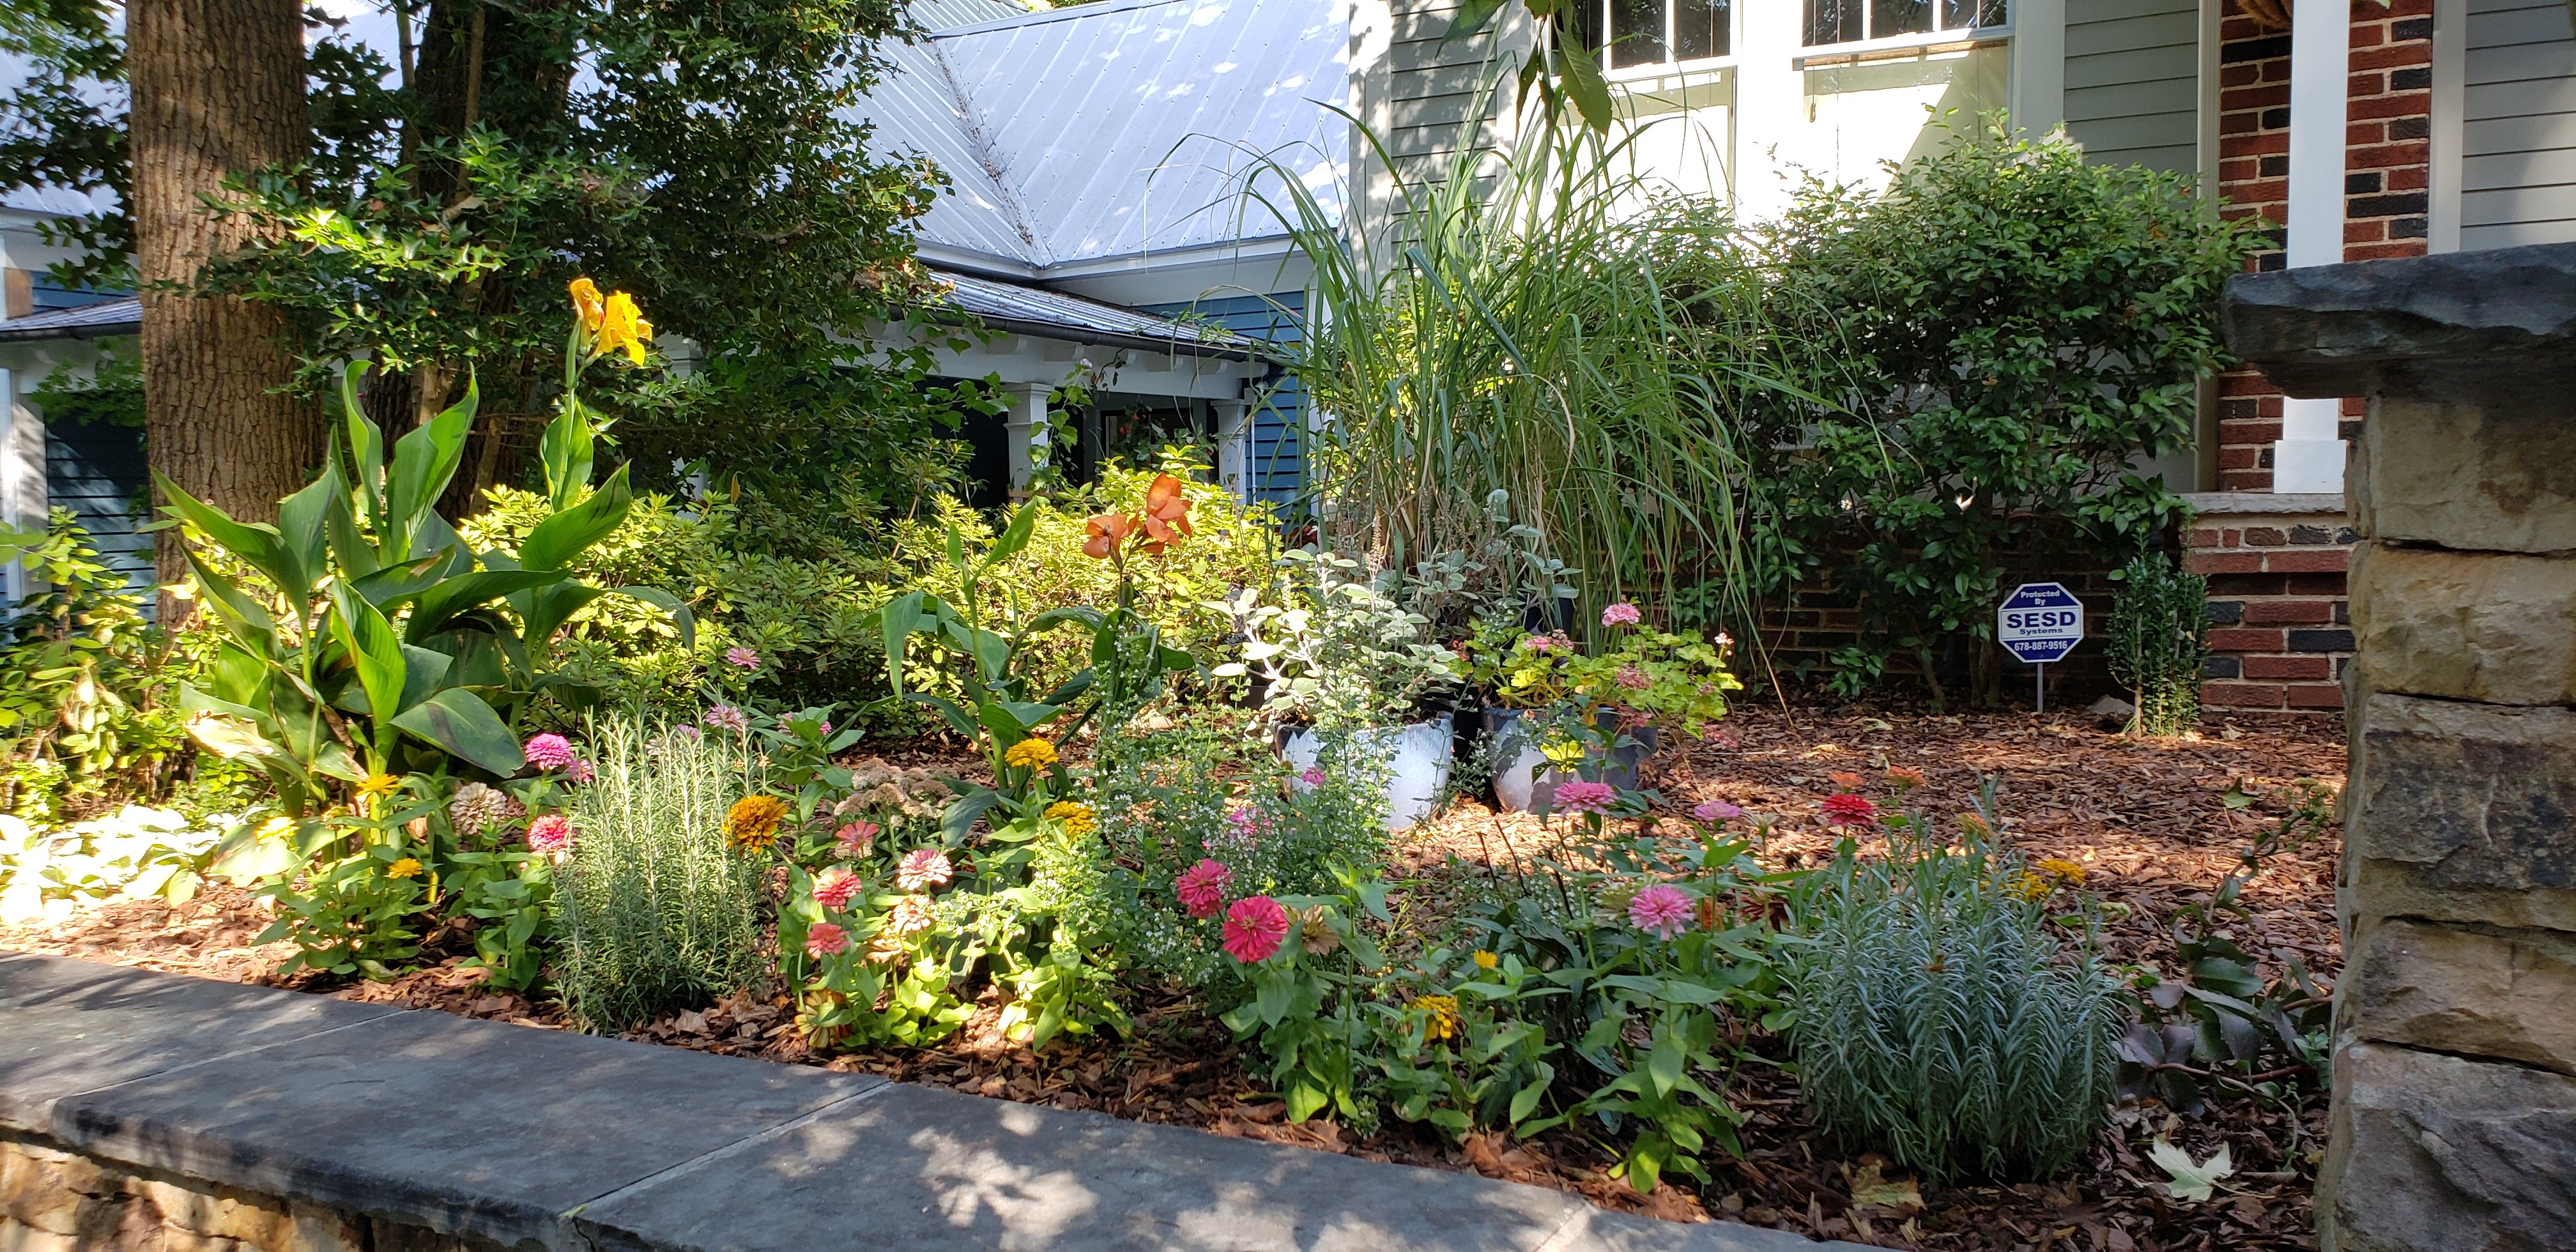
Healthy Soil is the Groundwork for Garden Success
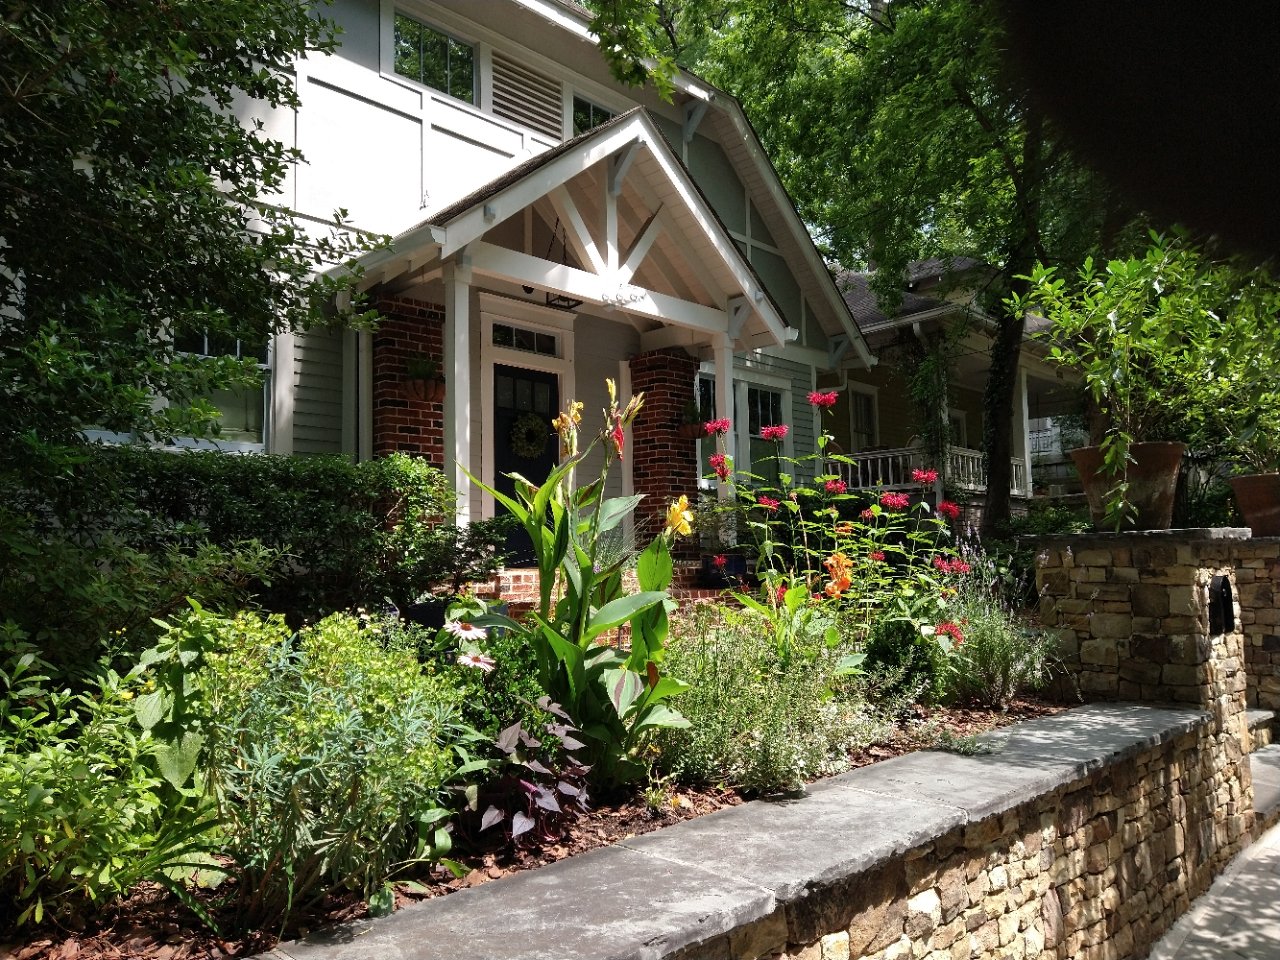
Happy new garden fully resurrected and rejuvenated in less than nine months!
This homeowner was willing to take a methodical approach to set their garden up for healthy, long-term success. This whole process occurred over the course of nine months. Less than a full cycle of seasons. This was also a very budget friendly undertaking: one and a half of BigYellowBags of Soil³, eight bags of soil conditioner, fifteen bags of mini pine bark nuggets. No additional fertilizer was necessary to achieve these results. As for ongoing maintenance, a layer of Soil³ will be spread throughout the borders when it’s time to freshen the mulch.
Whether restoring a garden, or starting from scratch, take it at your own pace, build a good foundation, and with a little help, nature can take it from there.
All photos by Peter Calabrese.

Did this help you out? Have any questions for clarity? Leave a comment below!